
Getting started safely: a step-by-step plan
If you want to make your own products with silicone beads, to sell, or just for your own child or for friends, it is nice to know when you are doing it safely.
Especially if you want products sell, you will have to deal with legislation, standards and responsibilities. That can be overwhelming. That is why I have tried to list this as clearly and practically as possible for you.
This step-by-step plan is intended as: something to hold on to, especially for small entrepreneurs.
If you make something for private use, steps 1 to 4 are sufficient in practice.
I won't prescribe exactly to you how you need to tie or thread something. The ultimate strength of a product always depends on:
- the chosen materials
- the shapes and sizes used
- and how exactly someone works
I do want to show that there is more to making safe products than is often thought.
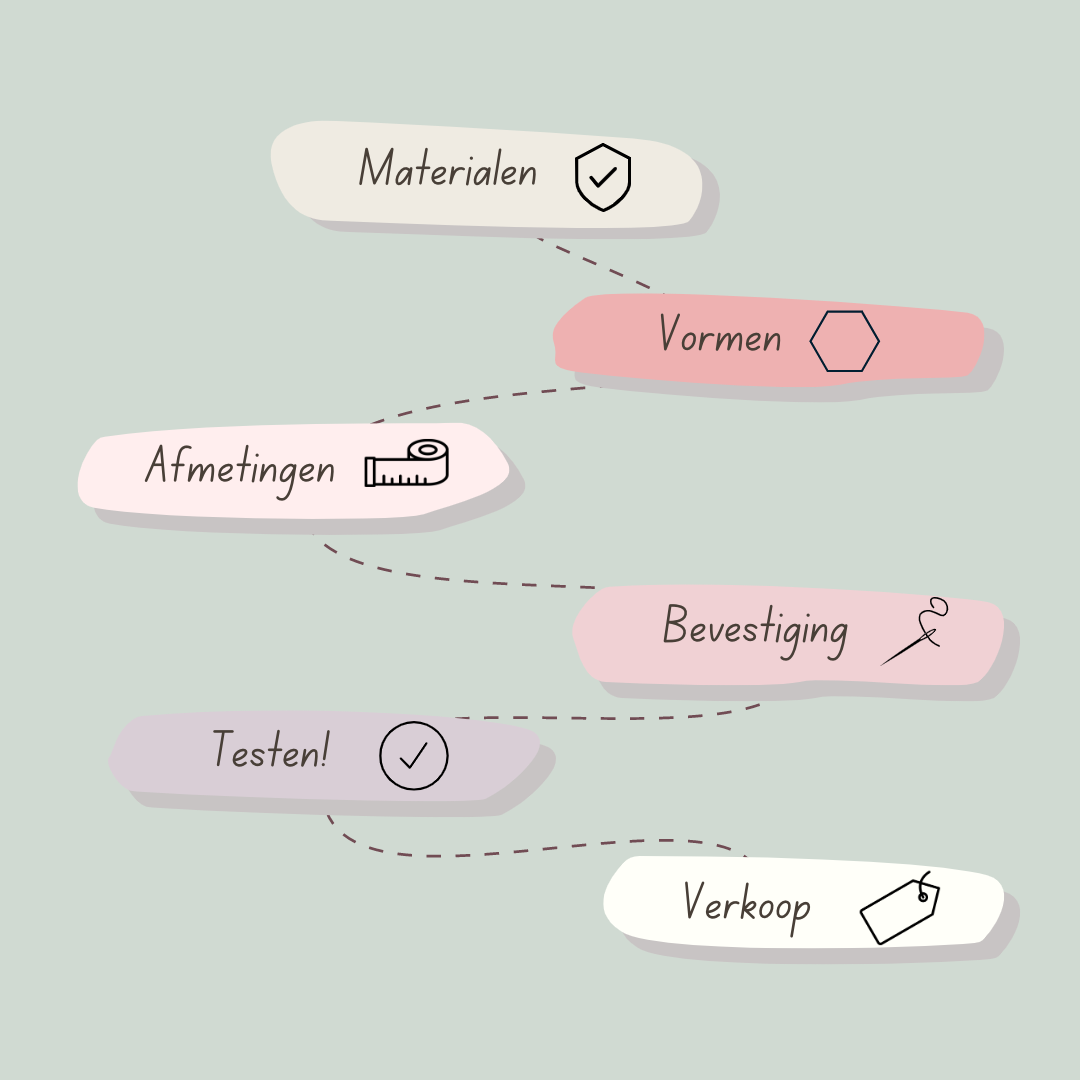
The step-by-step plan
Step 1 – Provide safe materials
Only use materials that are suitable for use by babies and young children.
As an importer, I am responsible for the materials I sell and ensure that they meet the applicable European requirements. As a creator of one end product However, you are also responsible for the choices you make. It is therefore important that you know where your materials come from and what documentation goes with them.
In practice, it turned out that manufacturer's certificates are often incomplete or based on other markets (such as the US), where different requirements apply than in Europe. That is why I have had additional tests carried out on the basic materials used by the factories.
The silicone beads, wood, satin thread and plastic parts that I sell have been tested through a recognized testing agency (SGS), and I have the corresponding documentation for these materials.
Not all items in the webshop are suitable for baby products. For example:
- acrylic beads
- lentils with rhinestones
- pens
Beads that are not suitable for baby use, or for which it is clear that they are less suitable for this purpose, have the indication 3+. Please note that this does not automatically mean that other beads are suitable. Always choose consciously.
My general advice:
use for baby items preferably silicone beads without protrusions, and be cautious when combining different materials.
Step 2 – Choose safe shapes and sizes
Not only the material, but also the shape and size of beads is of great importance.
- Beads that are too small can be unsafe
- Beads with protrusions (such as bows) look nice, but entail additional risks
- Many angular beads next to each other make a product less flexible
With pacifier cords and teething rings this can lead to:
- the product does not form properly
- the wire becomes visible
- the tension becomes unevenly distributed
Wooden parts also require extra attention. A single wooden ring can pass a strength test in some cases, but multiple wooden parts that come under pressure at the same time can break. Therefore, making rattles is not a safe choice from a strength perspective.
Preferably choose:
- mainly round shapes
- limited size differences
- variation in color and structure, not at risk
Step 3 – Pay close attention to dimensions
Dimensions are an important part of safety.
For example, a pacifier clip (excluding clip) is allowed. maximum 22 cm be long. Please note that a cord may stretch slightly during use. This also means that not every name or combination is suitable for a pacifier clip.
In addition, please note that:
- a baby cannot become trapped
- fingers, hands or arms cannot get stuck
The simpler the design, the smaller the chance of accidents.
Step 4 – Basting and knotting
Once you've chosen safe materials and shapes, it's time to baste.
Roughly two methods are used for pacifier cords:
- the knot method
- the burning method, where the satin thread is melted together
Because heating satin thread can cause weak spots unnoticed, I prefer the knotting method.
Below Info & Tips you will find instructional videos in which I show how I tie pacifier cords and teething rings, and how I make other items. The way I tie teething rings has been tested by SGS.
The pacifier cord in this form has not been tested as a final product, but similar constructions have been tested with the same clips and the same thread. Yet it always applies:
you remain responsible for your working method and the end result.
Step 5 – Have it tested (when selling)
Create your products sell, then testing is essential.
Teething rings and other toys fall under the Toys Directive
→ testing is mandatory
→ a CE marking may be applied after approval
Every other composition or sequence of beads counts as a separate model and must in principle be assessed separately.
For pacifier cords testing is not legally required, but I highly recommend it if you are serious about selling. By having at least one pacifier cord tested, you will gain certainty about your attachment method.
If you use materials from my webshop, you do not need to have additional chemical tests carried out on the individual parts. For it end product However, testing always remains your own responsibility.
Only a recognized testing agency can legally determine whether your product meets the requirements.
Step 6 – Documentation and Usage
If everything is correct, you can really get started.
When selling, always make sure that you:
- adds clear usage instructions
- warns against unsupervised use
- indicates that products may no longer be used if damaged
- states your contact details
Approved products also require careful use.
But above all: enjoy it!
It's great fun to play with colors and make something beautiful. Especially if you know that you are doing it in a conscious and responsible way.
Read more
Would you like to delve deeper? Then you will find more specific information here: