
How do you make a safe product?
If you want to make your own products to sell, you have to comply with many rules. But even if you want to make something for your own child, or for friends or acquaintances, it is of course nice to know when you are doing it safely!
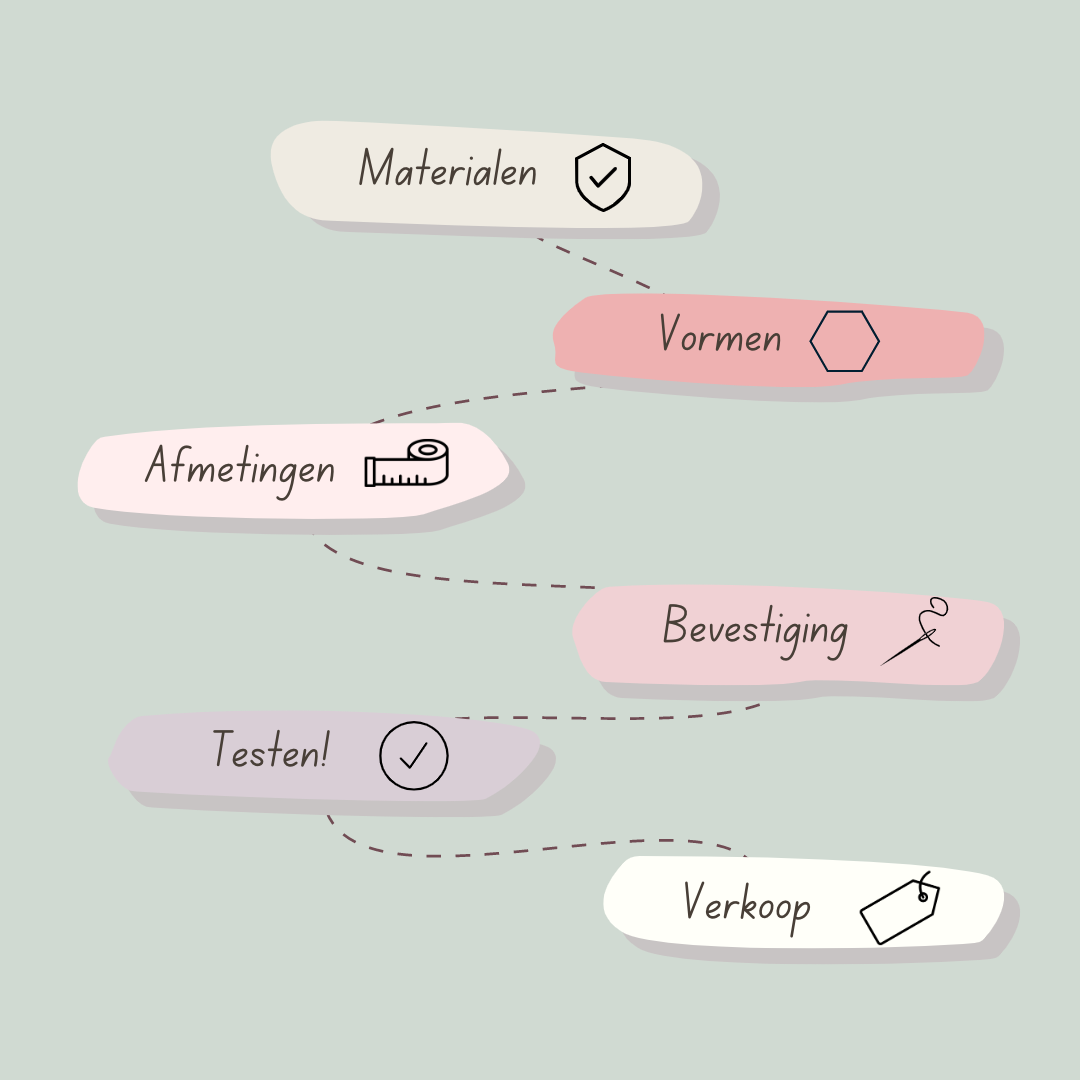
I have done my best to make it clear to you as best as possible what the rules are. Below I will explain a little more based on the diagram I made. (The information is intended for small entrepreneurs. For private individuals, steps 1 to 4 are sufficient). I have tried to keep the information on this page as concise as possible.
You'll see that I won't tell you exactly how to do it. This is because the strength of the end product depends entirely on the beads used and how exactly you tie the knot. I just want to show that there is a lot involved in creating items for sale.
On this page you will find a step-by-step plan. If you would like more information about safety, click on the button below. You can read more details here about, among other things, testing products.
The step-by-step plan
Step 1:
Provide safe materials!
Only use materials approved for use by babies.
As an importer, I am responsible for the chemical certificates of the beads I sell, but as the maker of the end product, you are also responsible for the use of approved materials! So make sure you know exactly what you are buying and where.
Unfortunately, the manufacturers appeared not to have the certificates in sufficient order. None of them had them tested for all colors, and in Europe different/more tests are required than in America, which is usually what the manufacturers' certificates are aimed at.
So I have had many additional tests done on all basic silicone used by the various factories, so that all silicone beads and colors that I sell are now proven to be free of harmful substances. The same applies to the wood, the satin thread and the plastic play cord rings and snap closures.
I have had all materials tested by SGS and have the necessary certificates in my possession.
Not all items you find on this website are suitable for babies. Consider, for example, the acrylic beads, the spacers with rhinestones or (of course) the pens. Beads that have proven not to pass the strength test, or that I am quite certain would not pass, are marked 3+. So pay attention to that too. (Important: There are many more beads that are not well suited for baby items! My advice is to always use beads without 'protrusions' as much as possible, and preferably not to use materials other than silicone)
Step 2:
Choose the right shapes! Beads that are too small are in some cases unsafe for use by babies, as are beads with 'protrusions', such as the silicone bows. No matter how nice it looks, please choose safety! A lot of angular beads next to each other ensure that a pacifier cord cannot be bent properly, or a teething ring does not become properly round. This can also cause the wire to become visible, which entails additional risks of loosening! Wooden parts also always entail a risk. A single wooden ring on a teething ring can pass the strength test. Multiple wooden rings on 1 teething ring do not pass the test because they can break if they come under pressure at the same time (against each other). Making a rattle is therefore not a good idea in terms of strength.
So always choose mainly round bead shapes, and do not make the size differences too large. You can vary the structure, for example by alternating with ribbed beads, but you should also vary the colors. Babies love that!
Step 3:
Pay close attention to dimensions! For example, never make a teat cord (excluding clip) for longer than 22 centimeters (and keep in mind that a cord in use is still stretching somewhat). That also means, for example, that some longer names are not possible on a pacifier cord, because then you no longer have room left for other beads. Always make sure that babies cannot get trapped in your end product. Either with their necks, either with their fingers, hands or arms.
Rather keep the end product as basic as possible. That greatly reduces the chance of accidents!
Step 4:
If you have collected your safe materials and shapes together, it's time to string!
Various methods have been developed for this over time.
For pacifier cords you can roughly divide it into the 'button method' and the 'fire method'.
With the latter you merge the satin wire together into 1 large, continuous loop, after which you can easily slide beads on it and tie off. Because the satin wire can sometimes get weaker places unnoticed by heating and melting, I prefer the button method.
With the aid movies under Info & Tips I show, among other things, how I have a teat cord and a tendon button, but I also give short instructions for other fun homemade items.
The way I have been tested and approved by SGS.
The teat cord has not (yet) been tested. However, cords with the same clips and satin wire have already come to SGS through the test, and I ensure in several ways that no beads can get loose from the cord.
The video can now already serve as a hold, but you always remain responsible for the choices you make and the end result.
Step 5:
Time to have it tested! If you make products for sale, testing for teeth and other toys (for example, wagon tensioners) is mandatory. A teeth/other piece of toys must comply with the toy guideline, and must receive a CE marking after approval.
Each order of beads counts as a separate model, and must therefore be tested separately!
For pacifier cords, testing is not strictly mandatory, but I absolutely recommend doing it if you really want to sell seriously. For example, have a teat cord tested once, so that you are sure that your confirmation method is safe. In addition, do not use too special forms of teat cords, especially if you do not have it tested separately!
If you order all your materials from me, you don't have to have additional chemical tests done and you can make any color combination you want.
You can then fall back on the tests that I have already had done.
Please note: if you want to sell teethers, you are officially obliged to have your own end product tested, even if the way you will find on this website is tested as safe. Everyone ties just differently, or uses other shapes and sizes of beads.
Only a recognized test agency can legally determine whether your end product is safe.
Step 6:
If you have completed all the steps, you can really get started! You can vary endlessly with colors and make the most beautiful creations! Always ensure the correct documentation with your end products (for example, warnings about not using the products without supervision, not to go to bed of a teat cord, etc. Also make sure you always mention your contact details).
Even with approved products, care must also be taken, and they may no longer be used in the event of damage.
But above all: enjoy it! It's so fun to do!
Good luck and pleasure!